More Than Measuring
We are experts in our field. We know what to pay attention to, what to measure and what is significant in the process of manufacturing tablets with the use of our tools. Thanks to cooperation with scientists from the Electrical Faculty of the West-Pomeranian University of Technology in Szczecin, we have marketed a precise system controlling the quality of tools used for the production of tablets.
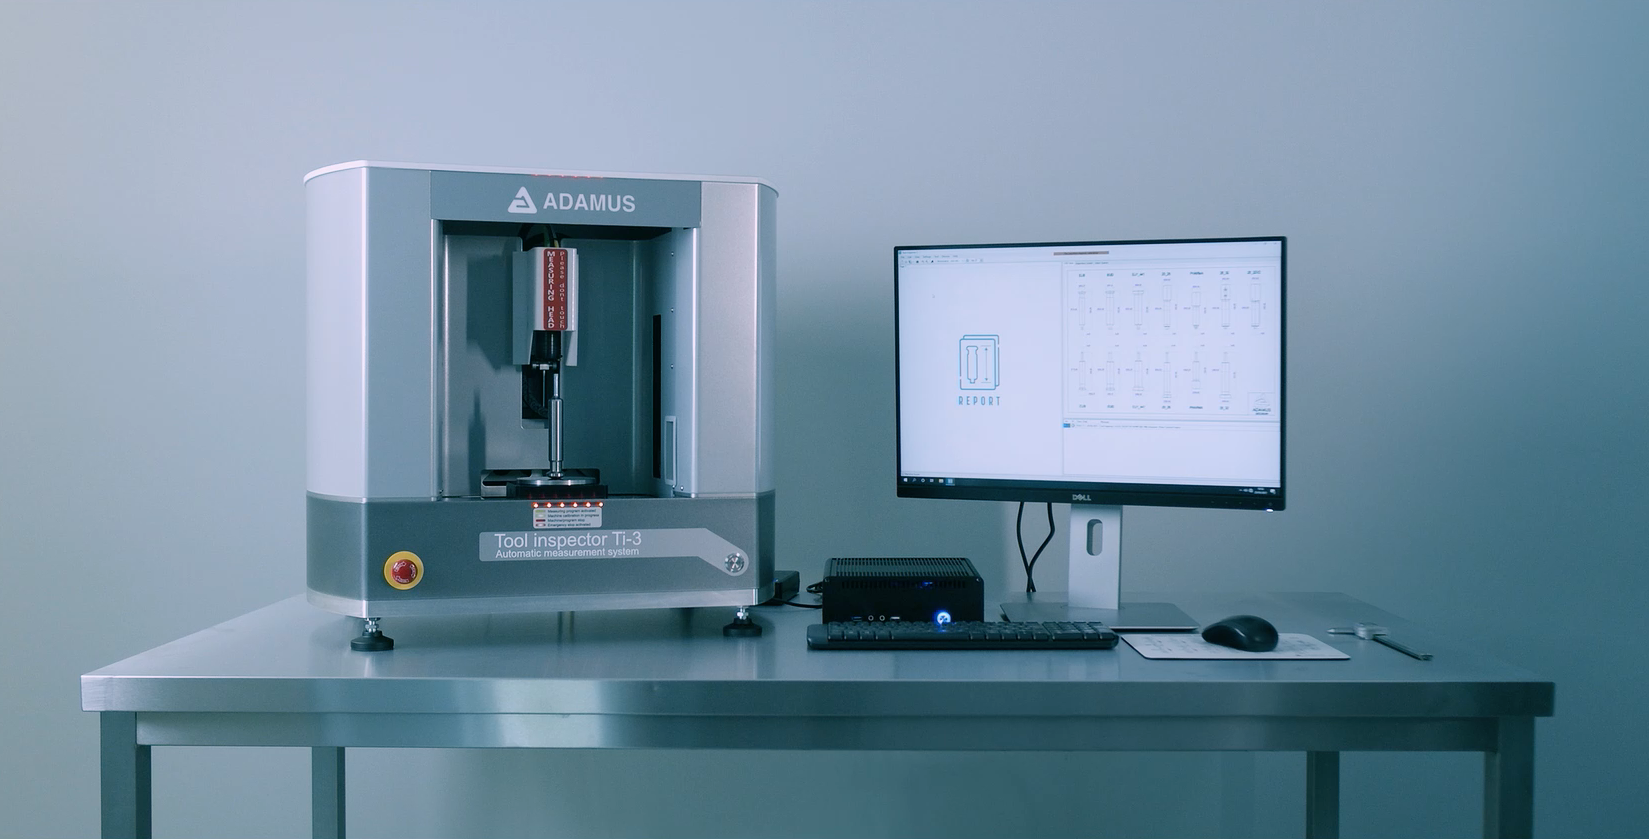
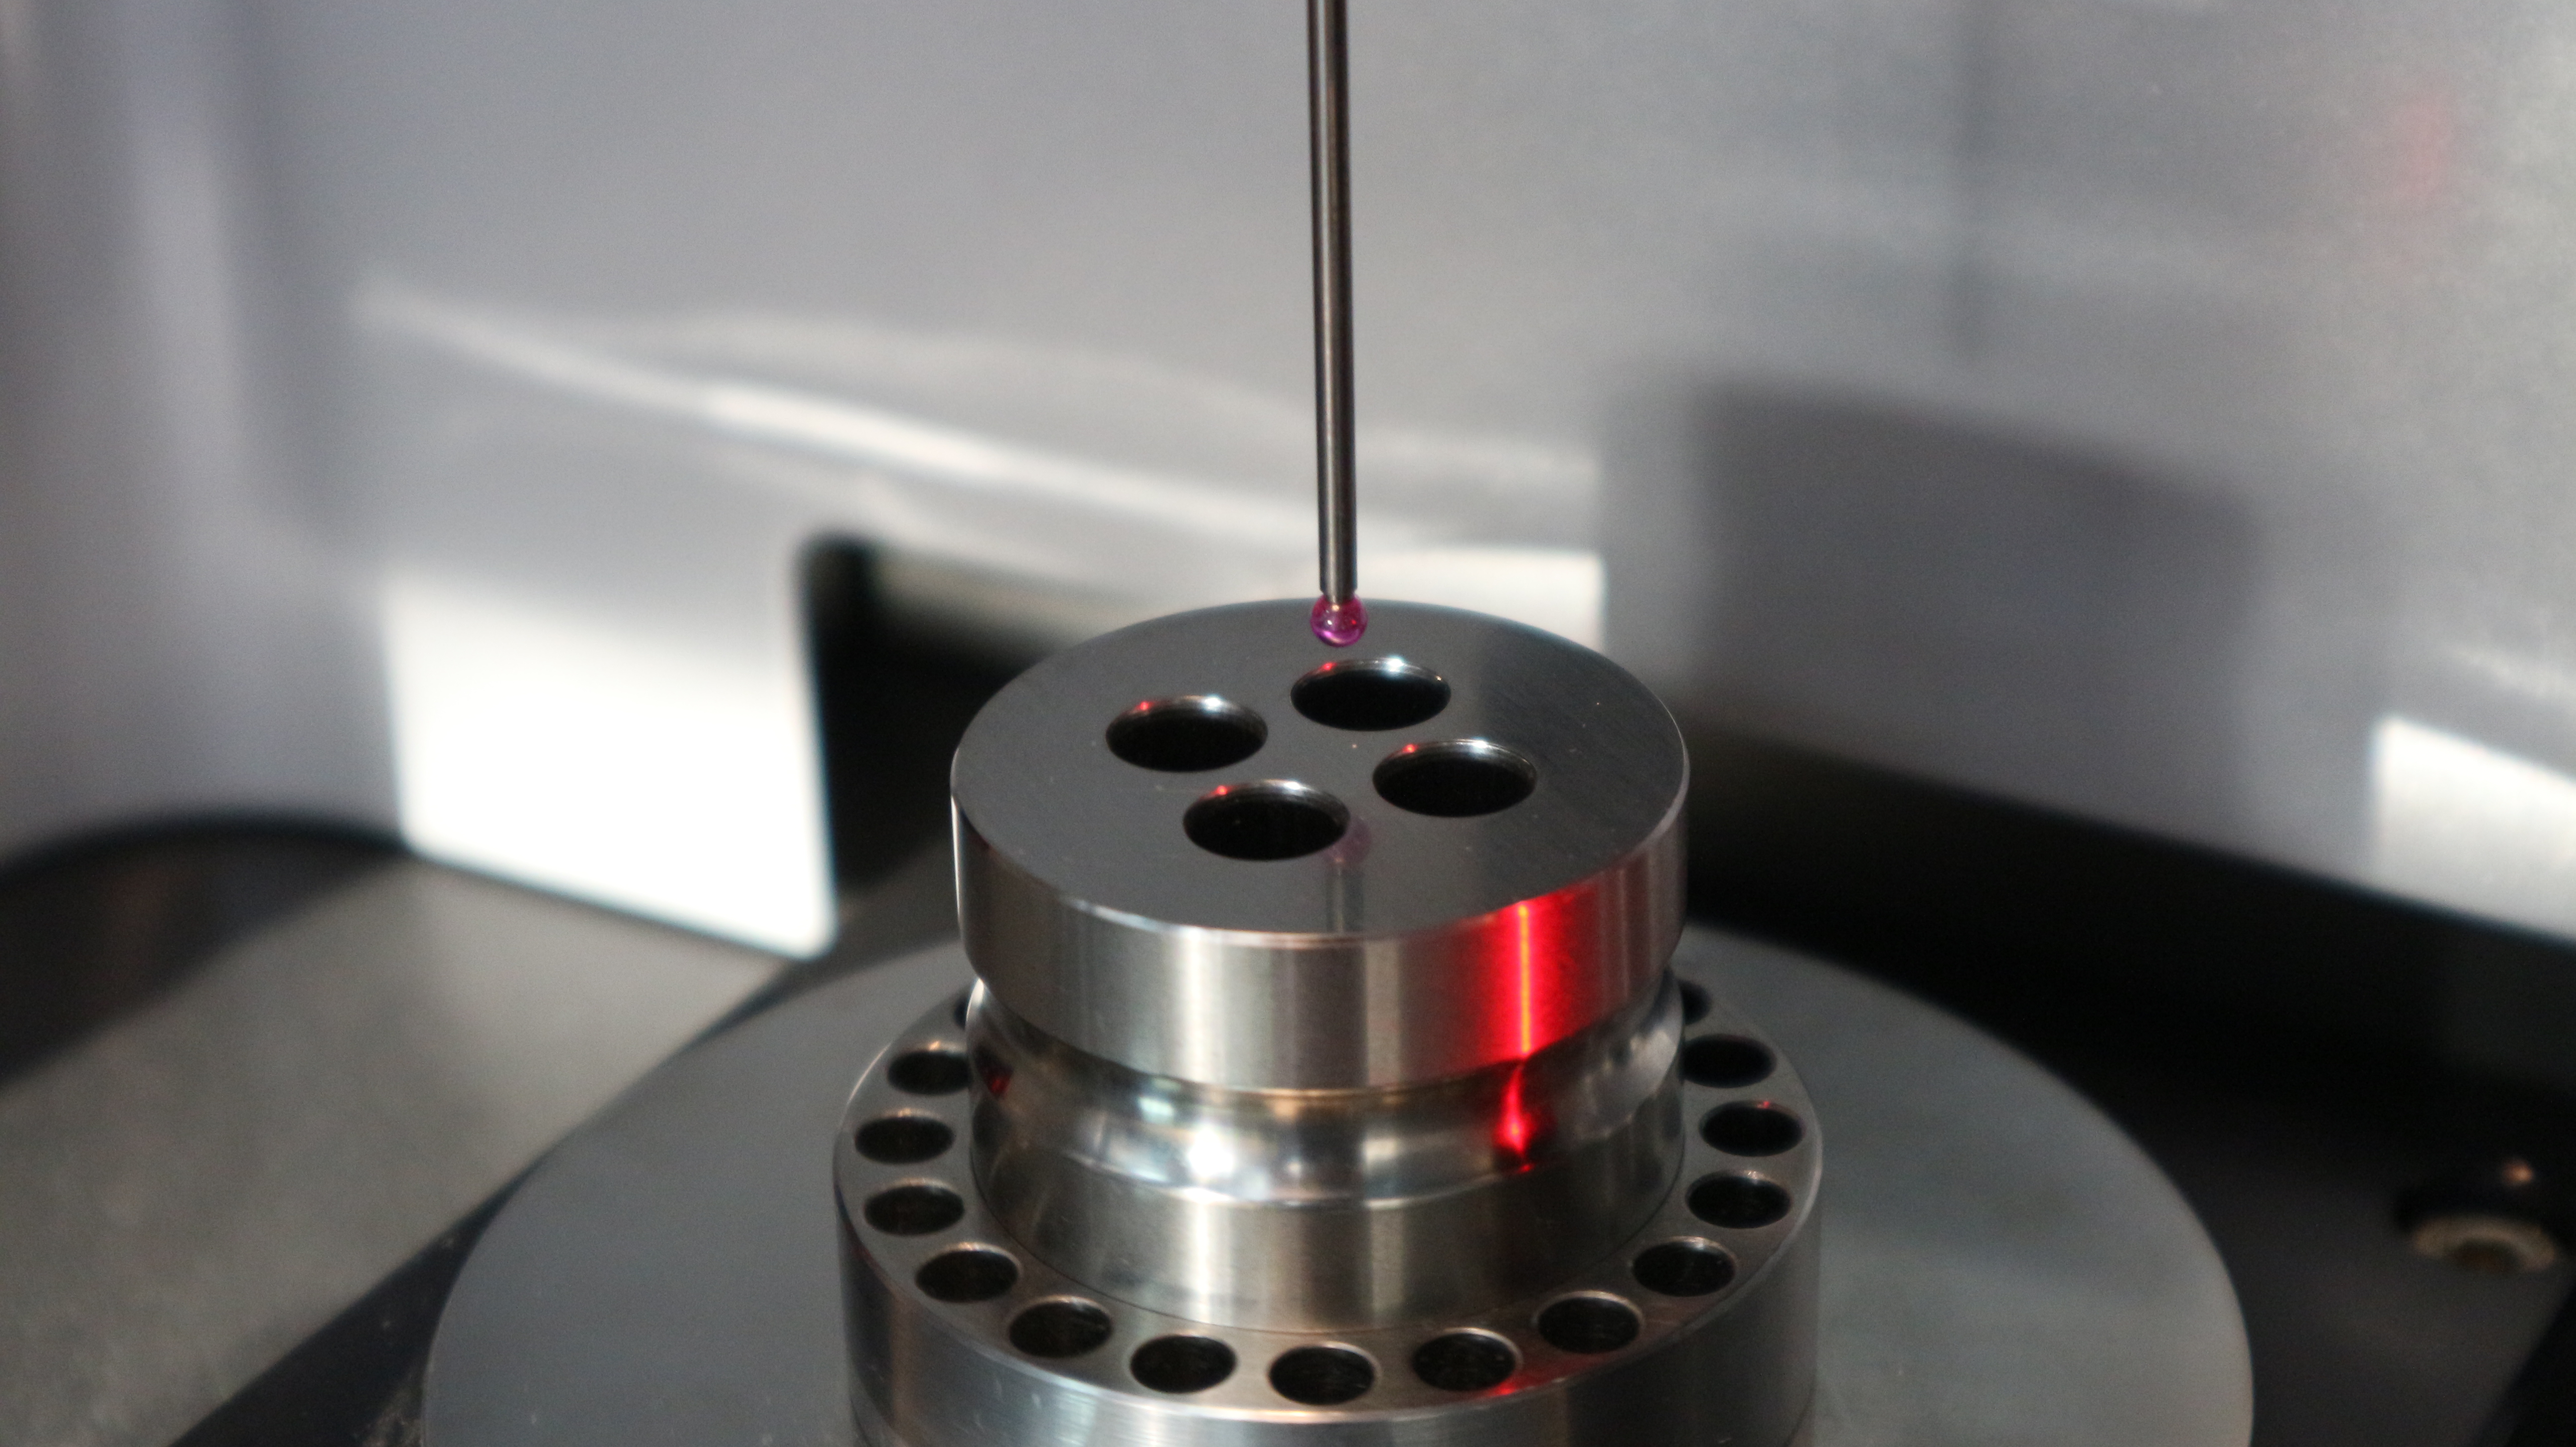
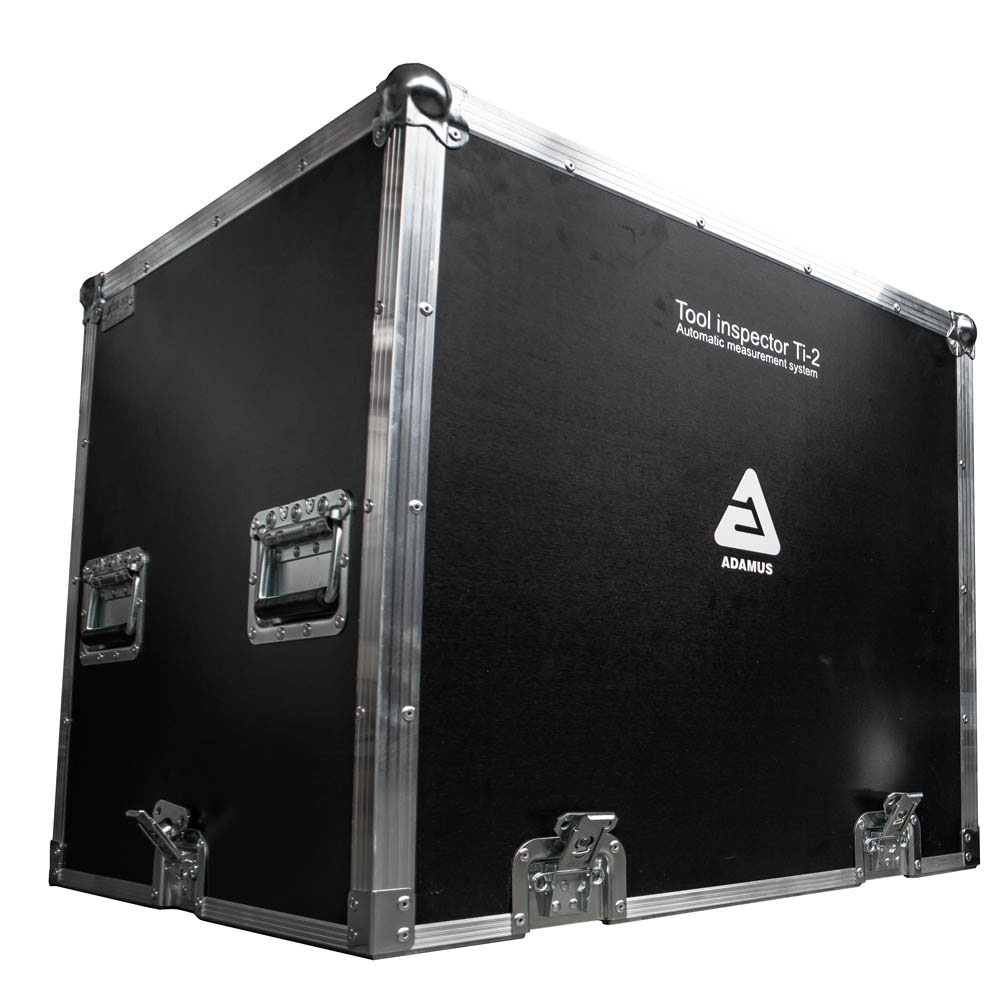
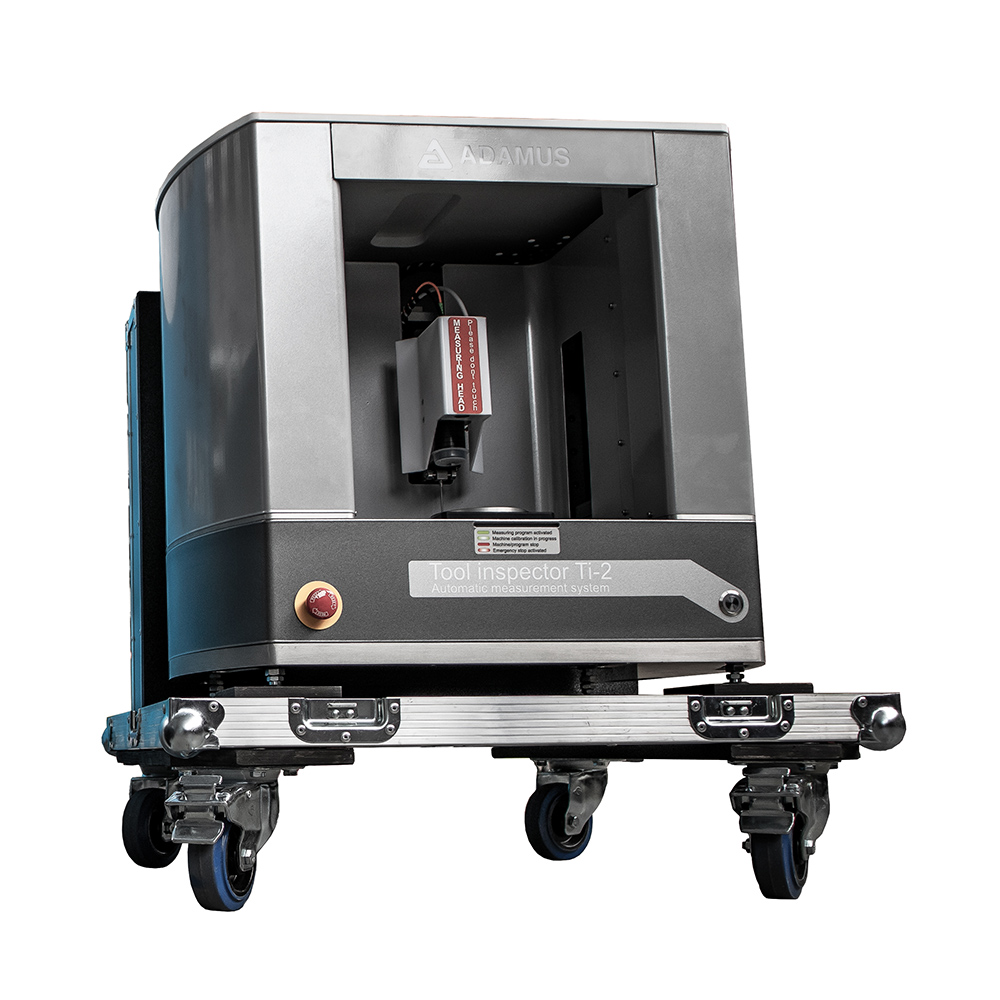
Ti-3 - A high-precision machine by Adamus, used for performing punches and die measurements
Punches and dies are one of the most crucial and, simultaneously, most precise tools used in the production of tablets. The tools work in an environment which contributes, with every single operation performed, to their natural wear and tear.
Regular and periodic compression tool measurements make it possible to diagnose the following:
- Natural wear and tear of the punches,
- Damage to the working part,
- Damage to the punch core and head,
- Damage to the die opening caused by natural wear and tear (ringing),
- Other mechanical damage,
- Quality of engravers,
- Andthey guarantee that geometric, weight- and information-related parameters (such as the engraving and the logotype) of the preparations produced are maintained.
More than a simple measurement only
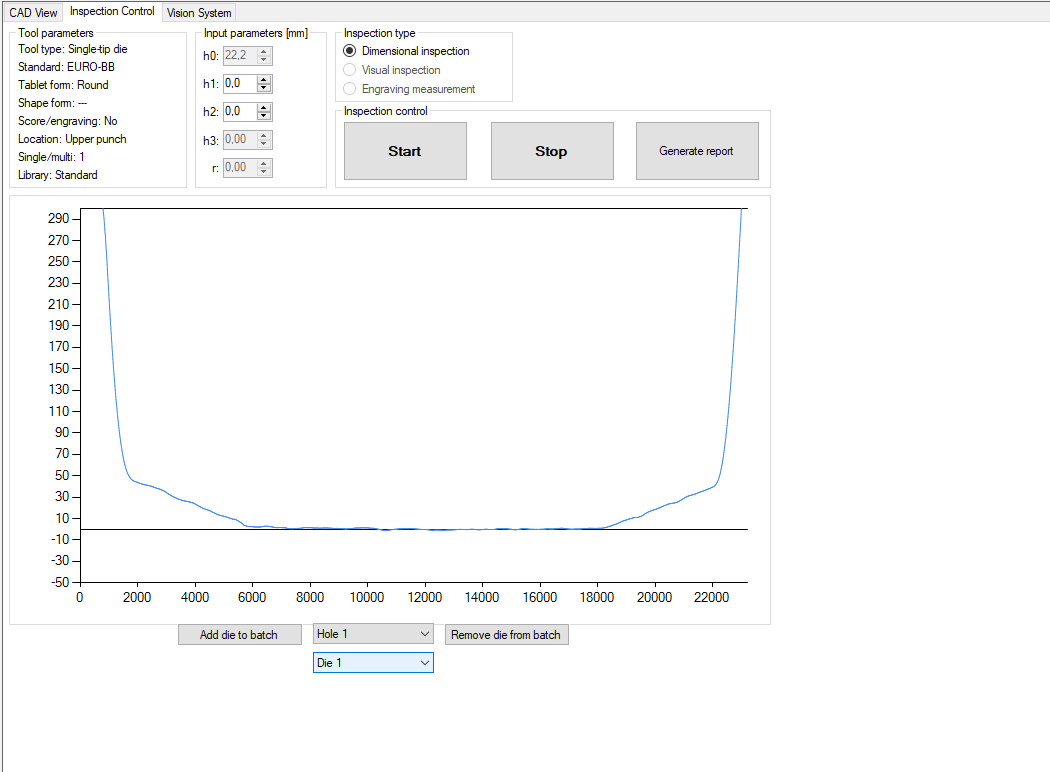
Our TI-3 measuring machine employs innovative and truly unique hardware- and software-related solutions. The device operates without touching the items being measured. The measurements are performed with the use of a confocal sensor and an optical micrometer. Thanks to the user-friendly measurement procedures, no expert knowledge is required to operate the device.
The majority of solutions currently offered on the market require that the measured elements have a number of the so-called fixed mechanical points (to ensure that the item is positioned correctly during the measurement). This limits access to surfaces that need to be measured. Our product is free from this type of limitation.
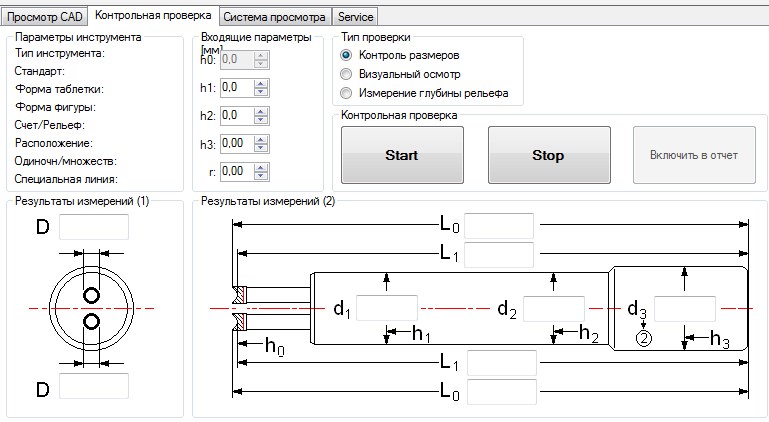
A patented measuring algorithm, combining simultaneous measurement of synchronous motion along the XYplane makes it possible to determine the geometric parameters of even the most complex shapes of parts used for pressing a tablet.
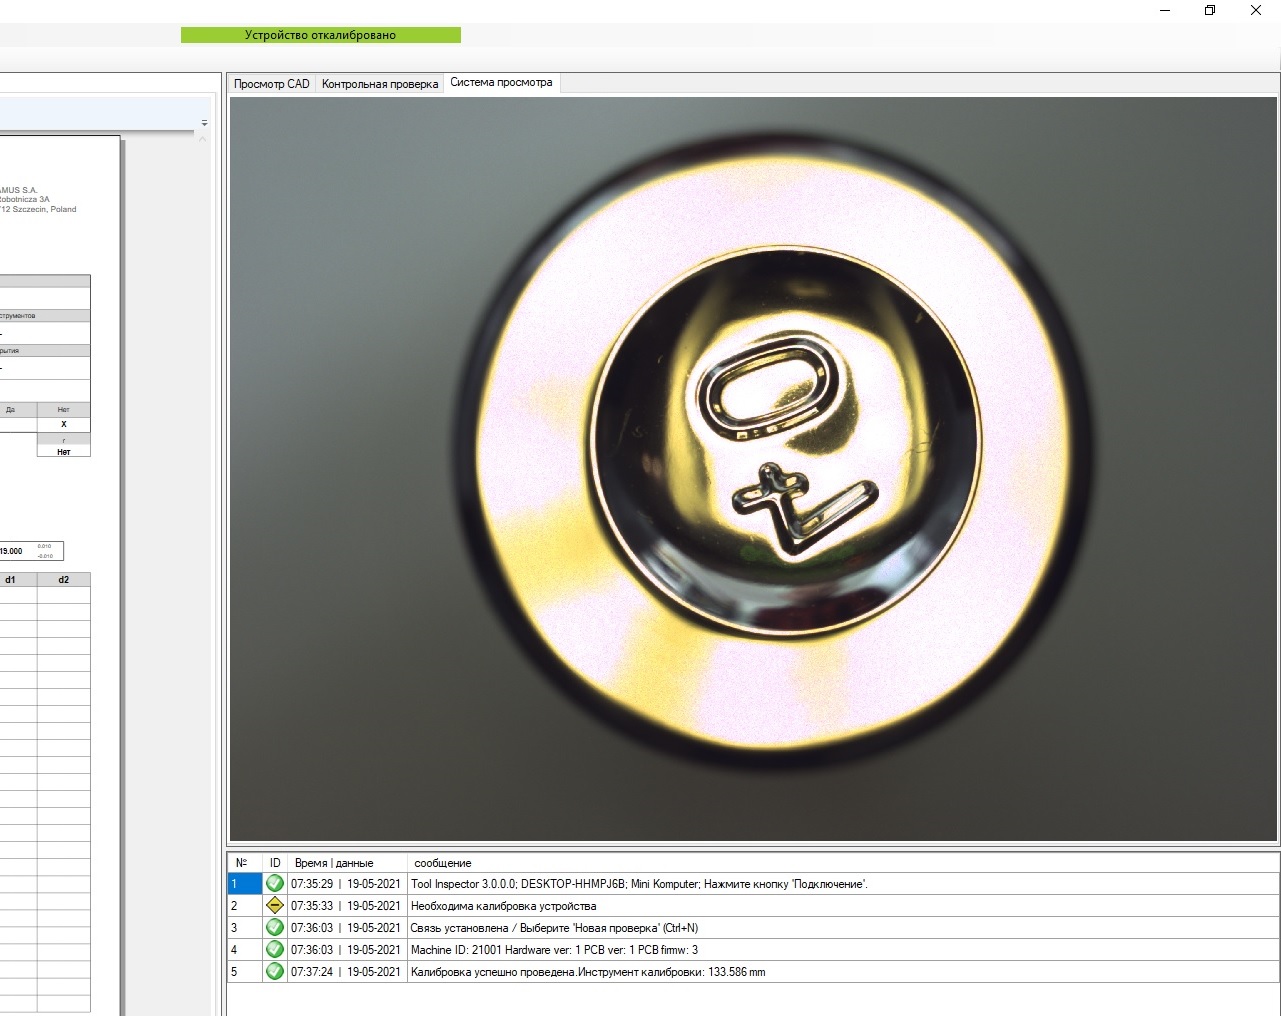
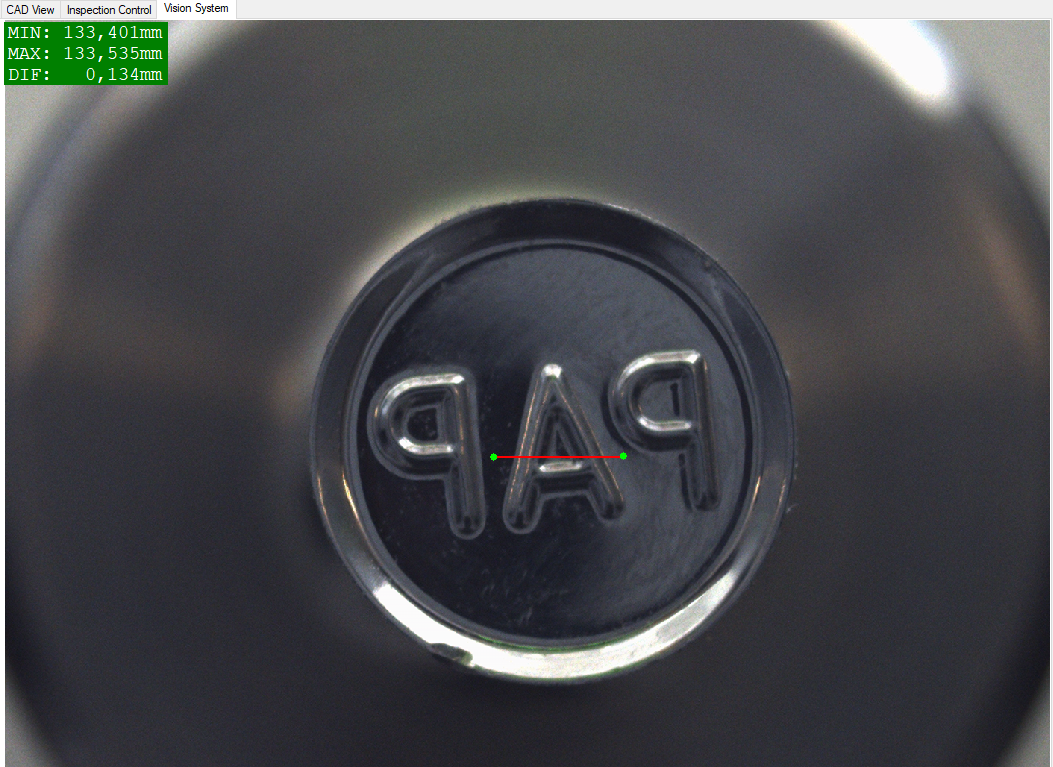
Furthermore, the availability of a user-friendly video system offering a resolution of 5M pixels allows to perform an optical assessment of the punching surfaces and to save image files. This means that the appearance of the punching element may be compared throughout its entire lifespan.
Measurements performed without the risk of damaging punches
Thanks to the fully automated measurement process, there is no risk of damaging the head, the bowl or another element of the punch and the die.
Quicker and more precise measurements - just one click away
Ti-3 conducts the measurements in real-time, simultaneously saving the dimensions, automatically, directly in the database. Adoption of this solution means that the tool inspection time is considerably shorter than in the case of traditional measurements.
Minimized number of tablets rejected due to improper weight
Based on the results obtained, the Ti-3 measurement machine allows to automatically steam single and multiple punches. Tool pairing allows achieving an optimized pressure value, translating directly into a reduction in losses caused by tablets rejected due to weight-related non-conformities
Precise engraver measurements
We have equipped the Ti-3 with a camera and image analysis algorithms making it possible to measure the engraver positioned on the punch bowl. Such an approach considerably mitigates the risk of producing defective items and batches of products. Engraver measurements are performed with the precision of up to 1 μm. Importantly, the user can define their own tolerance limits.
Report and image archives
The fact that reports and images showing the technical condition of the punches are archived means that the process of their wear may be investigated on an on-going basis. This enables the user to perform a long-term analysis of the condition of compression tools, and serves as an invaluable source of knowledge should potential defects take place.
Determination of permissible engraver wear levels
Thanks to the fact that the engraver or other elements of the bowl are measured based on the contactless method, the user is capable of defining the permissible height of engravers used on punching dies, and may then compare the results obtained with such definitions. Such an approach eliminates the risk of using punches that fail to meet the applicable standards in regular production.
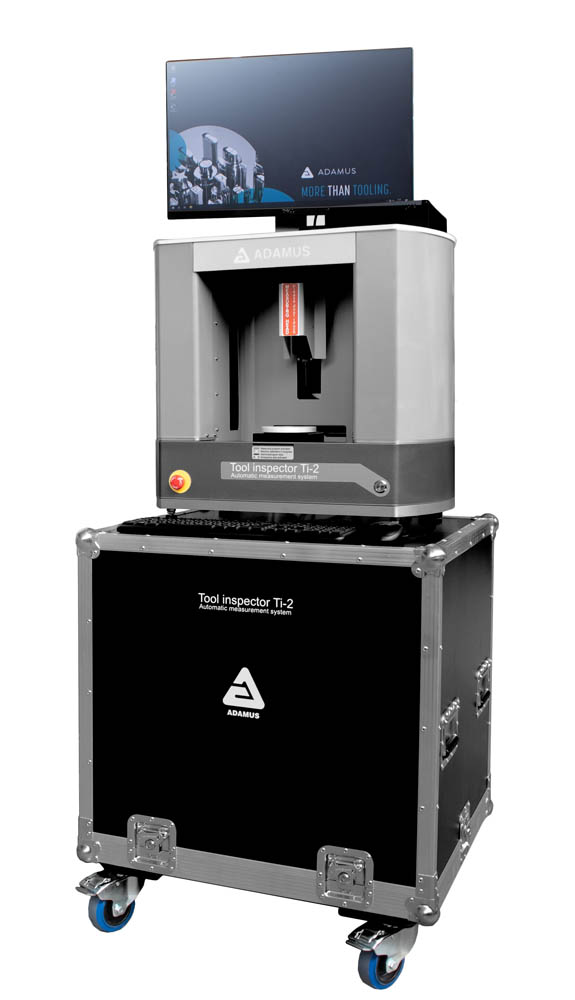
Full-scale automation with the use of a robotic arm - optional.
The entry-level model of the measurement machine may be equipped with a robotic arm, additionally optimizing the process of inspecting compression tools, as the tool is automatically fed into the measurement chamber.


